Ah. We return, inevitably, to the grandest creation of bread. How sweet the sound. How delightful the aroma! I made this bread on a Saturday morning and all the way through Sunday the apartment had that yeasty, rich dough scent that I so dearly love. I was definitely in my happy place. I started with this recipe early on in the weekend because two of the other three recipes I made included Walnut Bread in their recipe list. That is also why this one ended up as La Noscean faire – the other two recipes are unmistakably from that region. We’ll get to those in another post, so be on the lookout!
After the success of the bacon bread, I didn’t feel all that daunted by creating more bread, something that had initially been a source of stress. Baking is very scientific and finicky, and most of the time measurements and timing have to be fairly precise. But the Bacon Bread was such a success! I was invincible!
The thing that bummed me out a little was, in fact, that I’m not the biggest fan of walnuts. I happily enjoy almonds, cashews, pistachios, and peanuts. I’m just not that big a fan of walnuts and pecans. I wasn’t expecting to like this bread very much.
Boy, was I wrong.
I’m proud of this recipe. Even more than the Bacon Bread, because while that was good, it was good because it had bacon in it. It’s literally impossible to go wrong with bacon, am I right? It’s much easier to mess up when your main ingredient isn’t the staple of American cuisine! (Prove me wrong!)
So. My approach to this one was, “It doesn’t hurt to try new things and you haven’t had walnuts in a while so maybe your opinion has changed and maybe you won’t hate this bread as much as you think and hey, you basically have no choice because these two other recipes hinge entirely on this one and they’re mandatory for the cookbook because they’re so obviously La Noscean and…”
You get the picture.
I thought to myself: how can I make this enjoyable for someone who doesn’t like the main ingredient? To my vast delight, I found a way! I succeeded! I created something that I enjoy out of something that I do not!
But we’ll get to that later.
Let’s start baking!
My initial thought was to make this a whole wheat loaf, but it’s legitimately hard to make a loaf of bread with entirely whole wheat flour. Why not bread flour, you ask? Well, mostly, because I don’t keep that in my kitchen. I keep all-purpose and a very fine-milled whole wheat flour. So far, these two have gotten me through everything I’ve tackled. I honestly don’t remember the last time I used bread flour.
That being said, I’m sure it would add a great, smooth finish to the bread, so feel free to use it interchangeably with the all-purpose flour as you see fit.
So, I started where all good, homemade breads do: yeast.
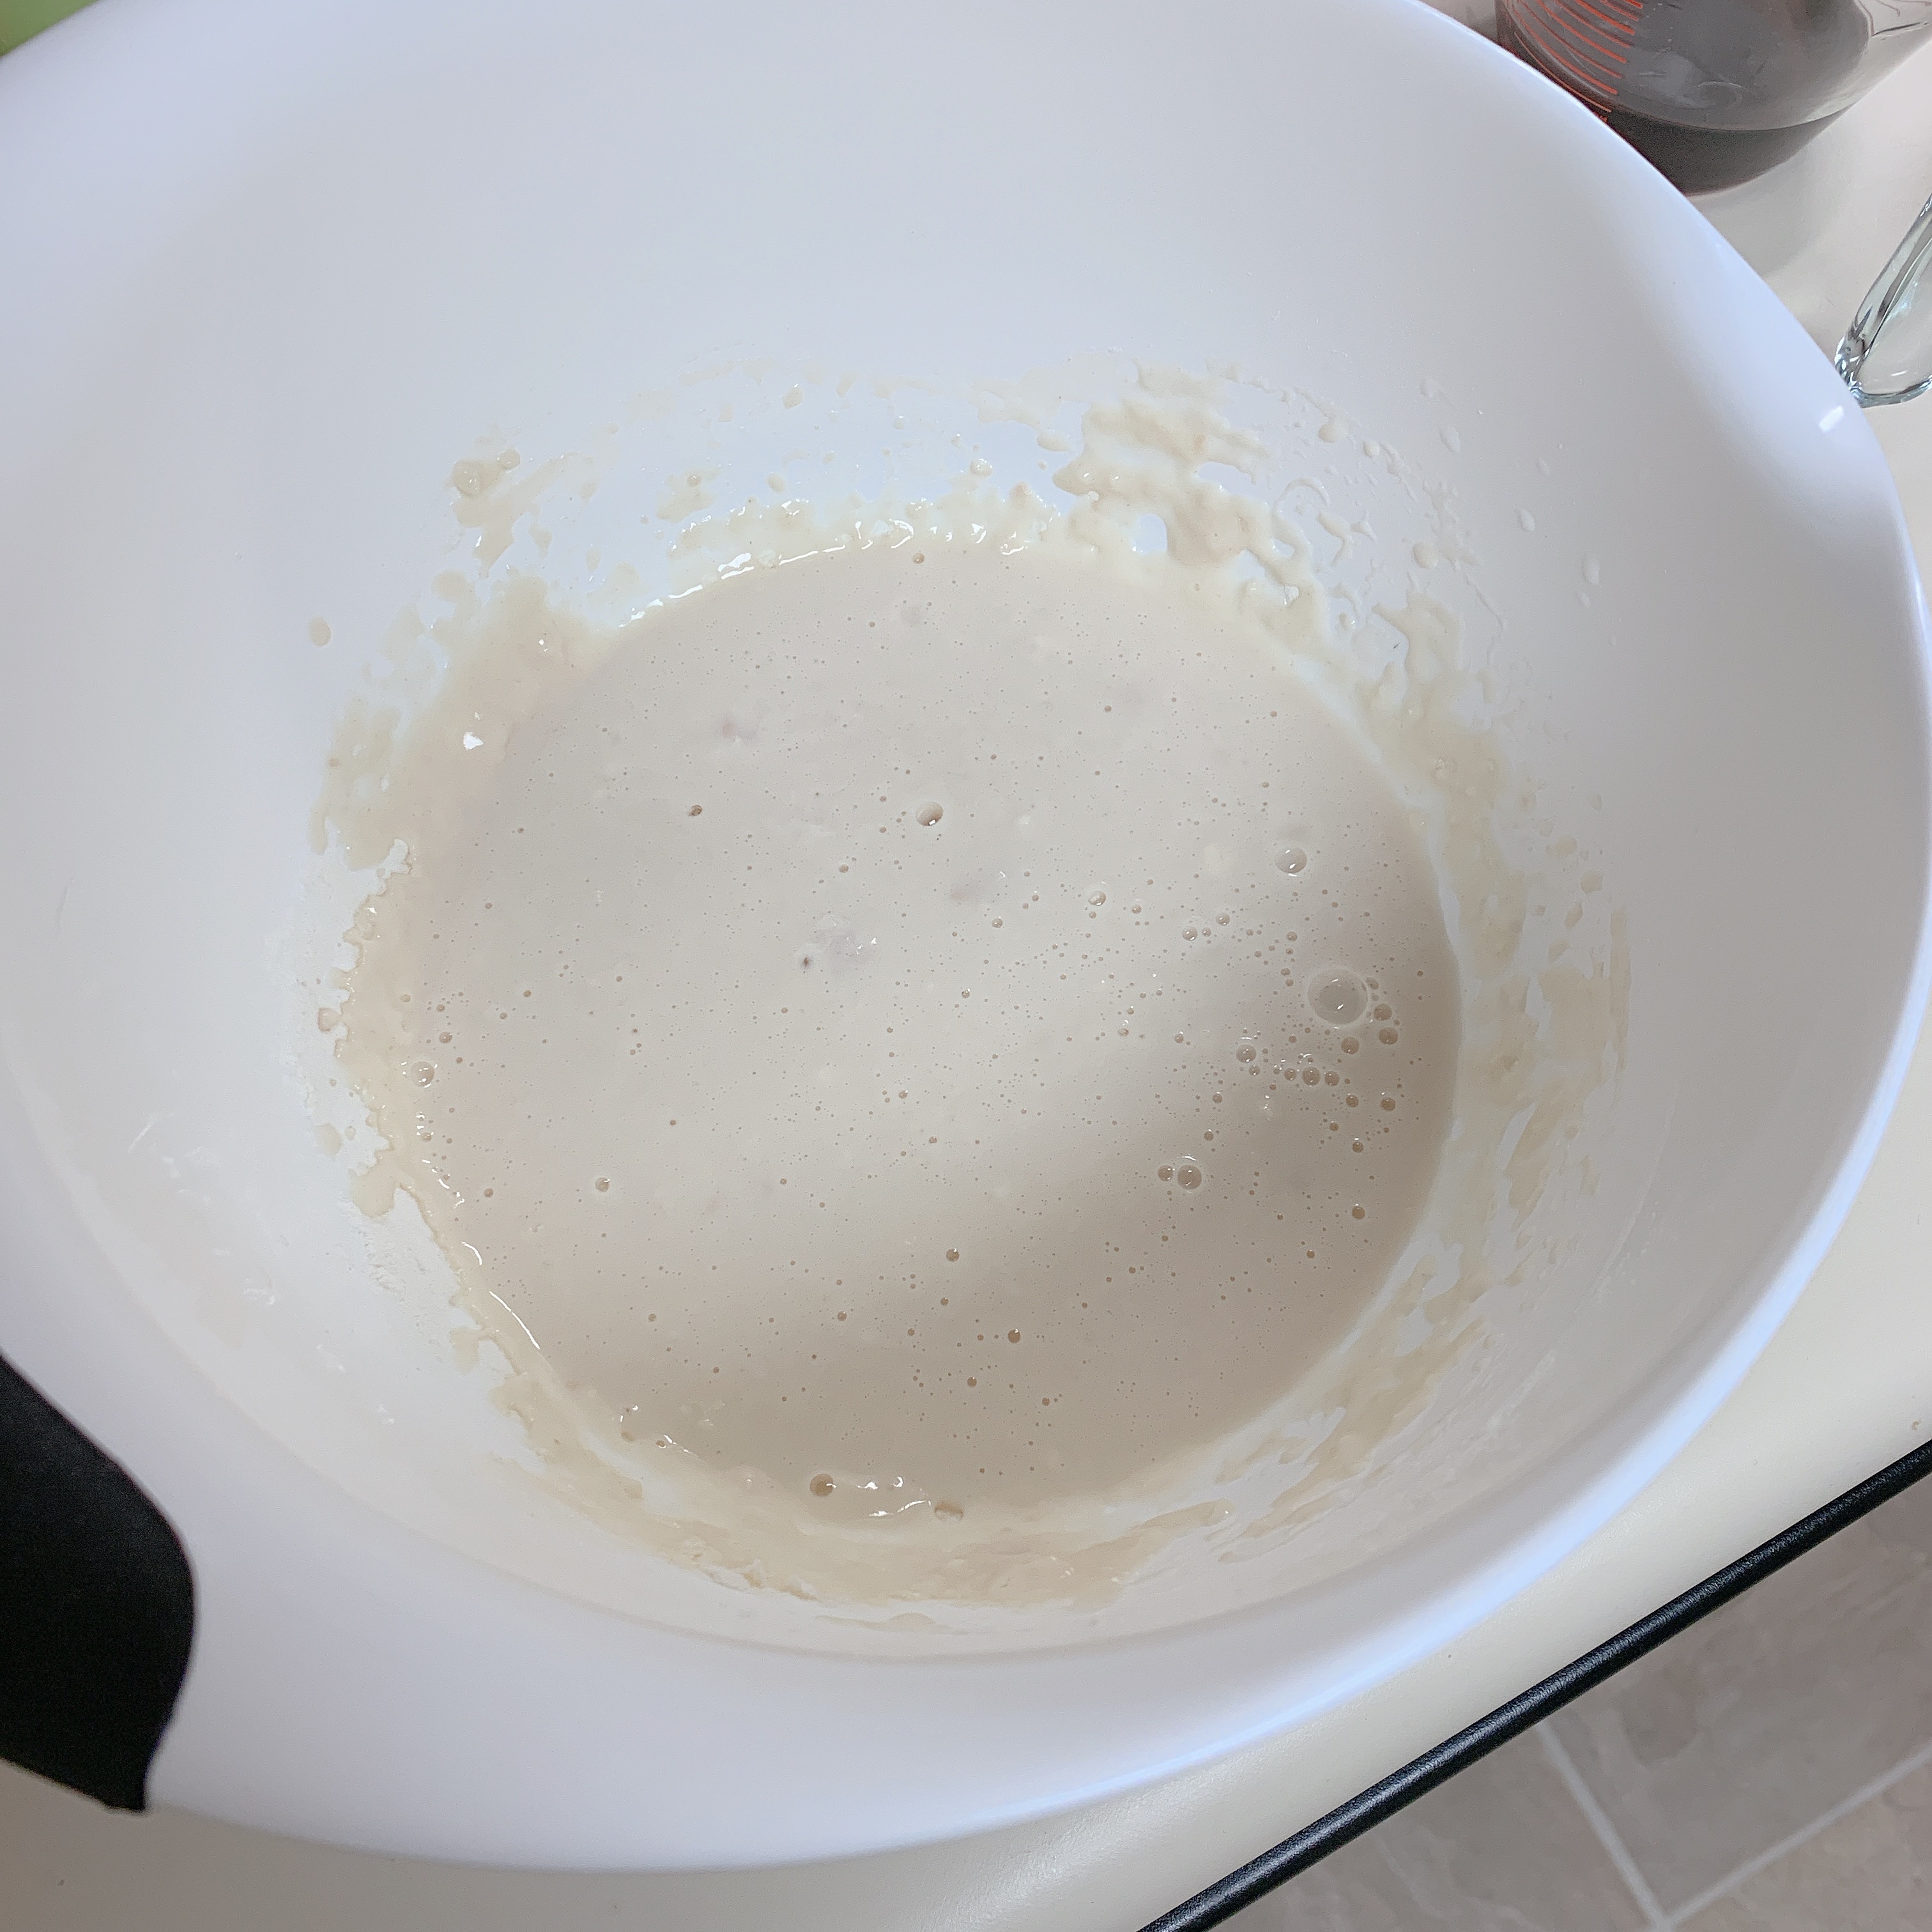
While the yeast was feasting, I got a few of the other ingredients together. I wanted the added texture of using melted butter rather than simply cold cut, so I popped it in the microwave for a few seconds.
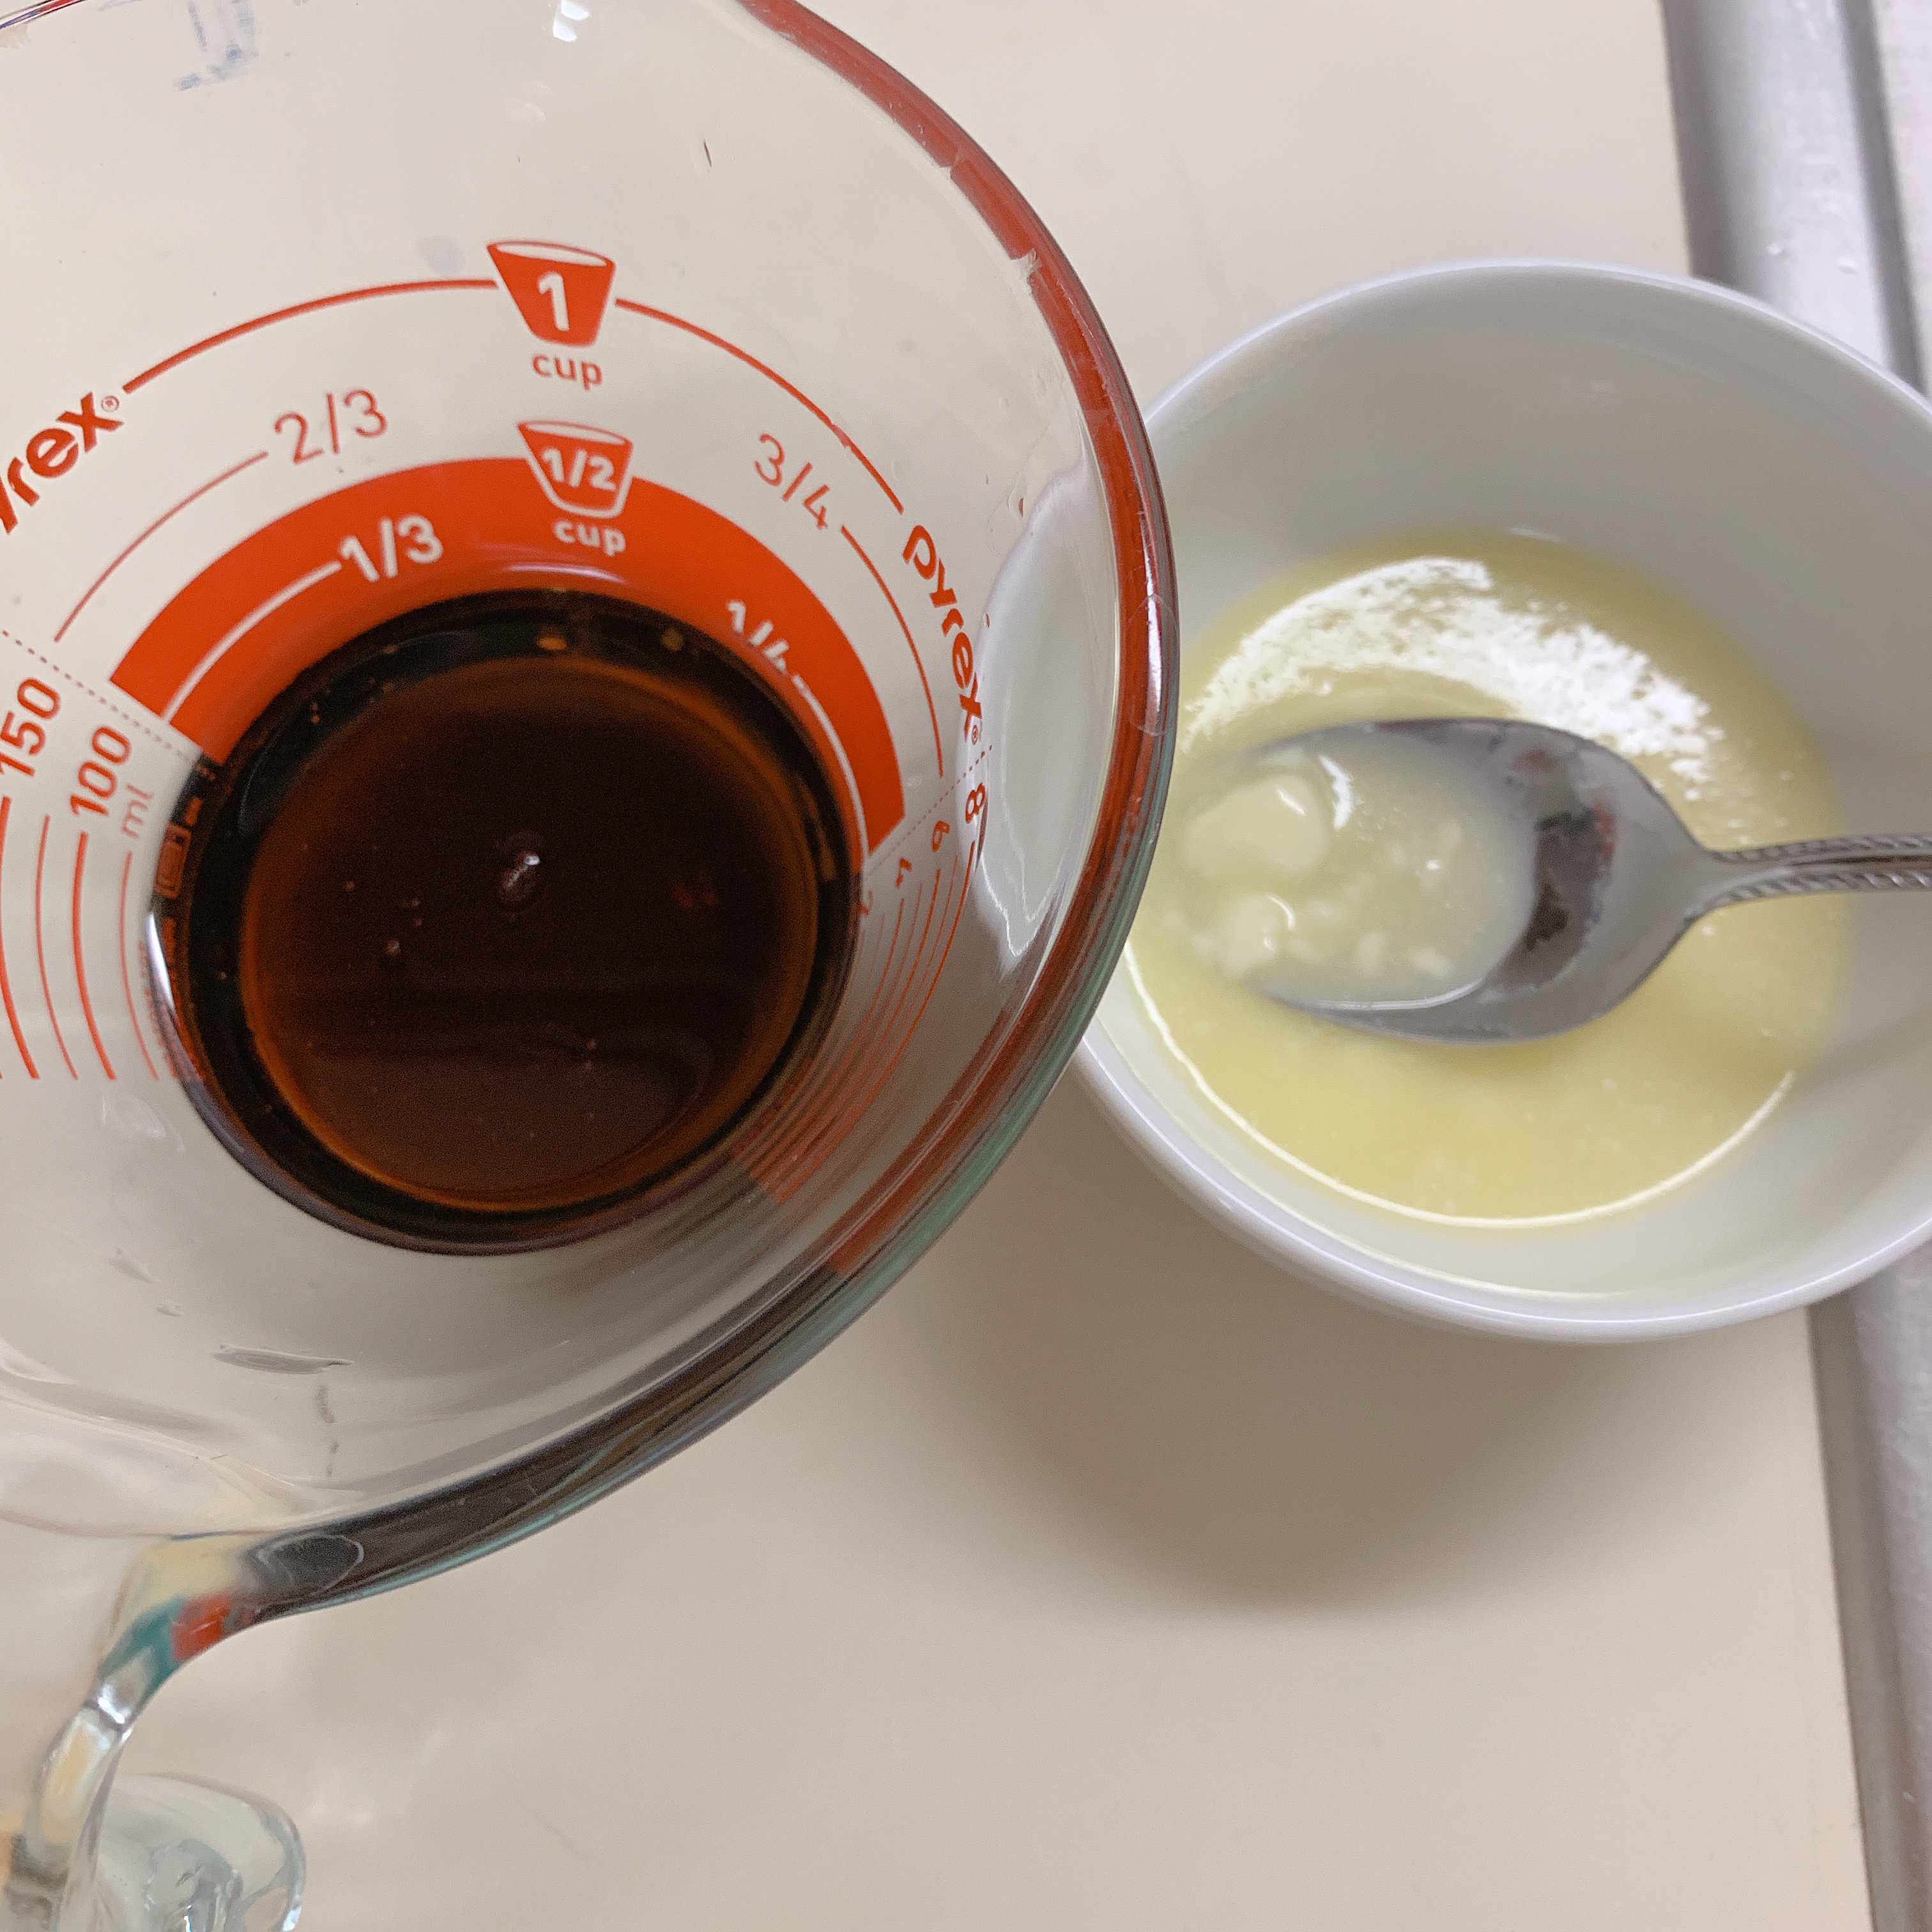
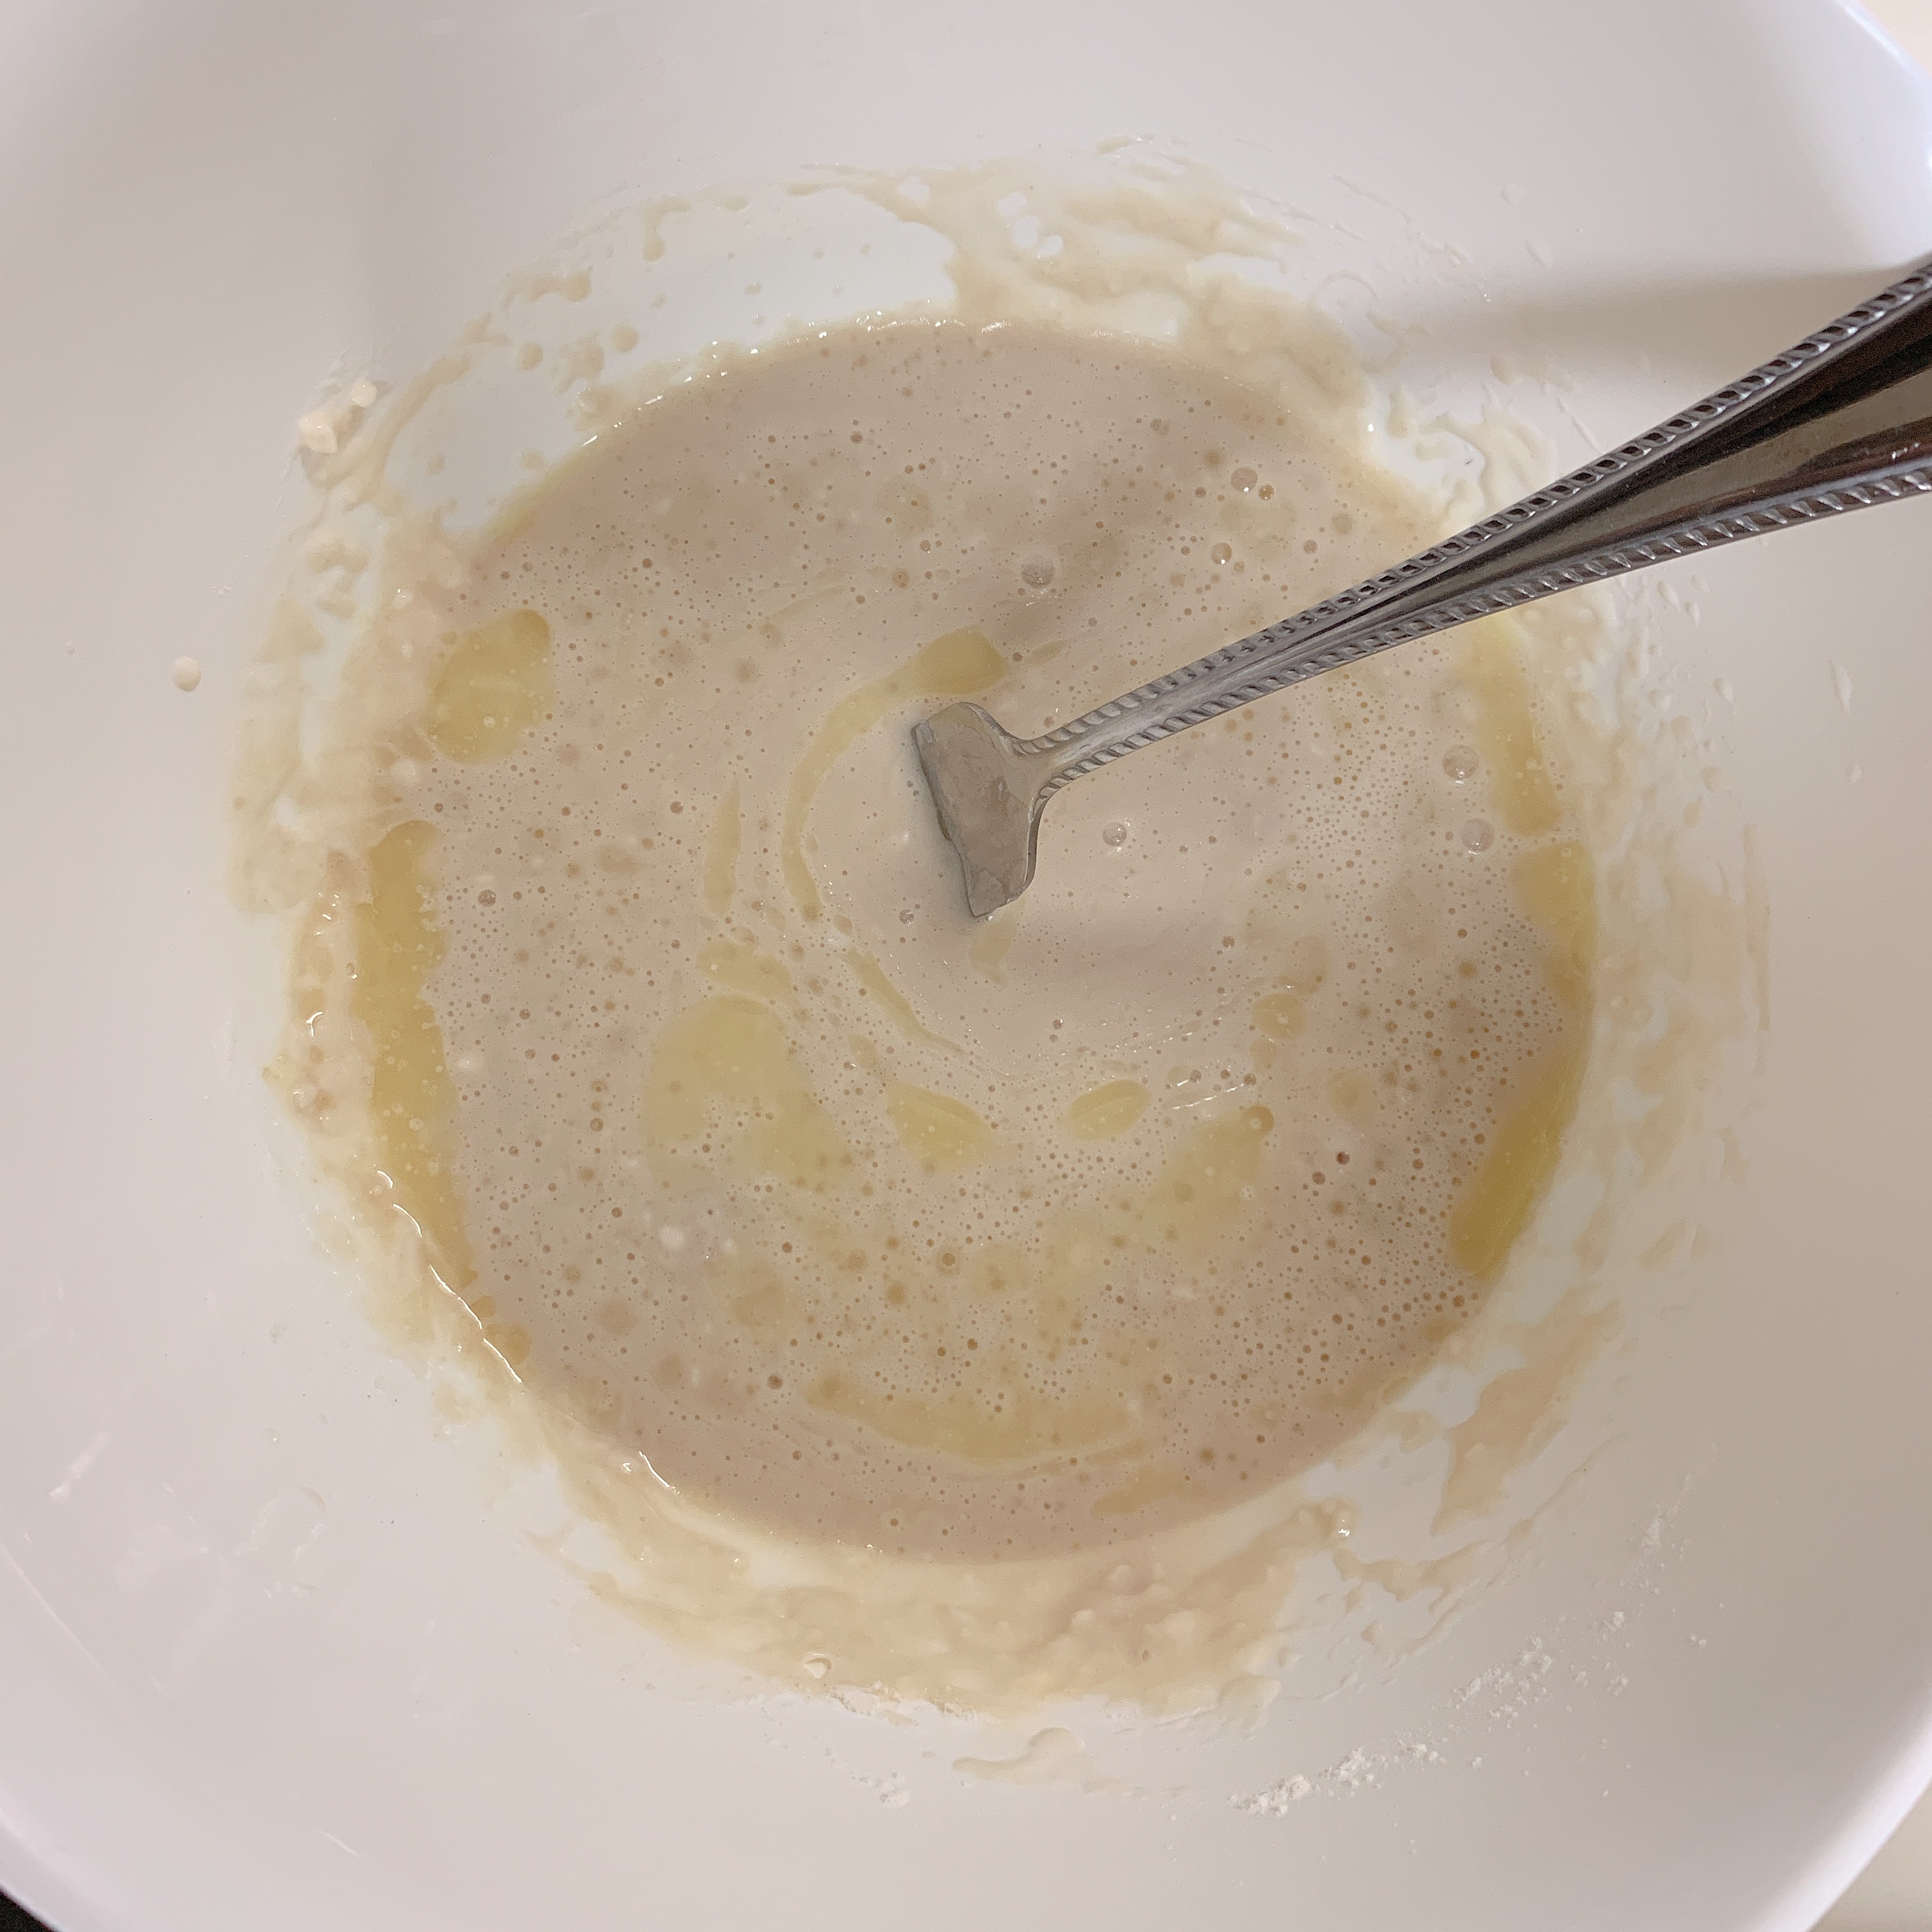
Once the yeast had finished its meal, I added the butter and maple syrup to that mixture. I thought the swirls of melted butter were very artistic and appealing ’cause I’m cool like that.
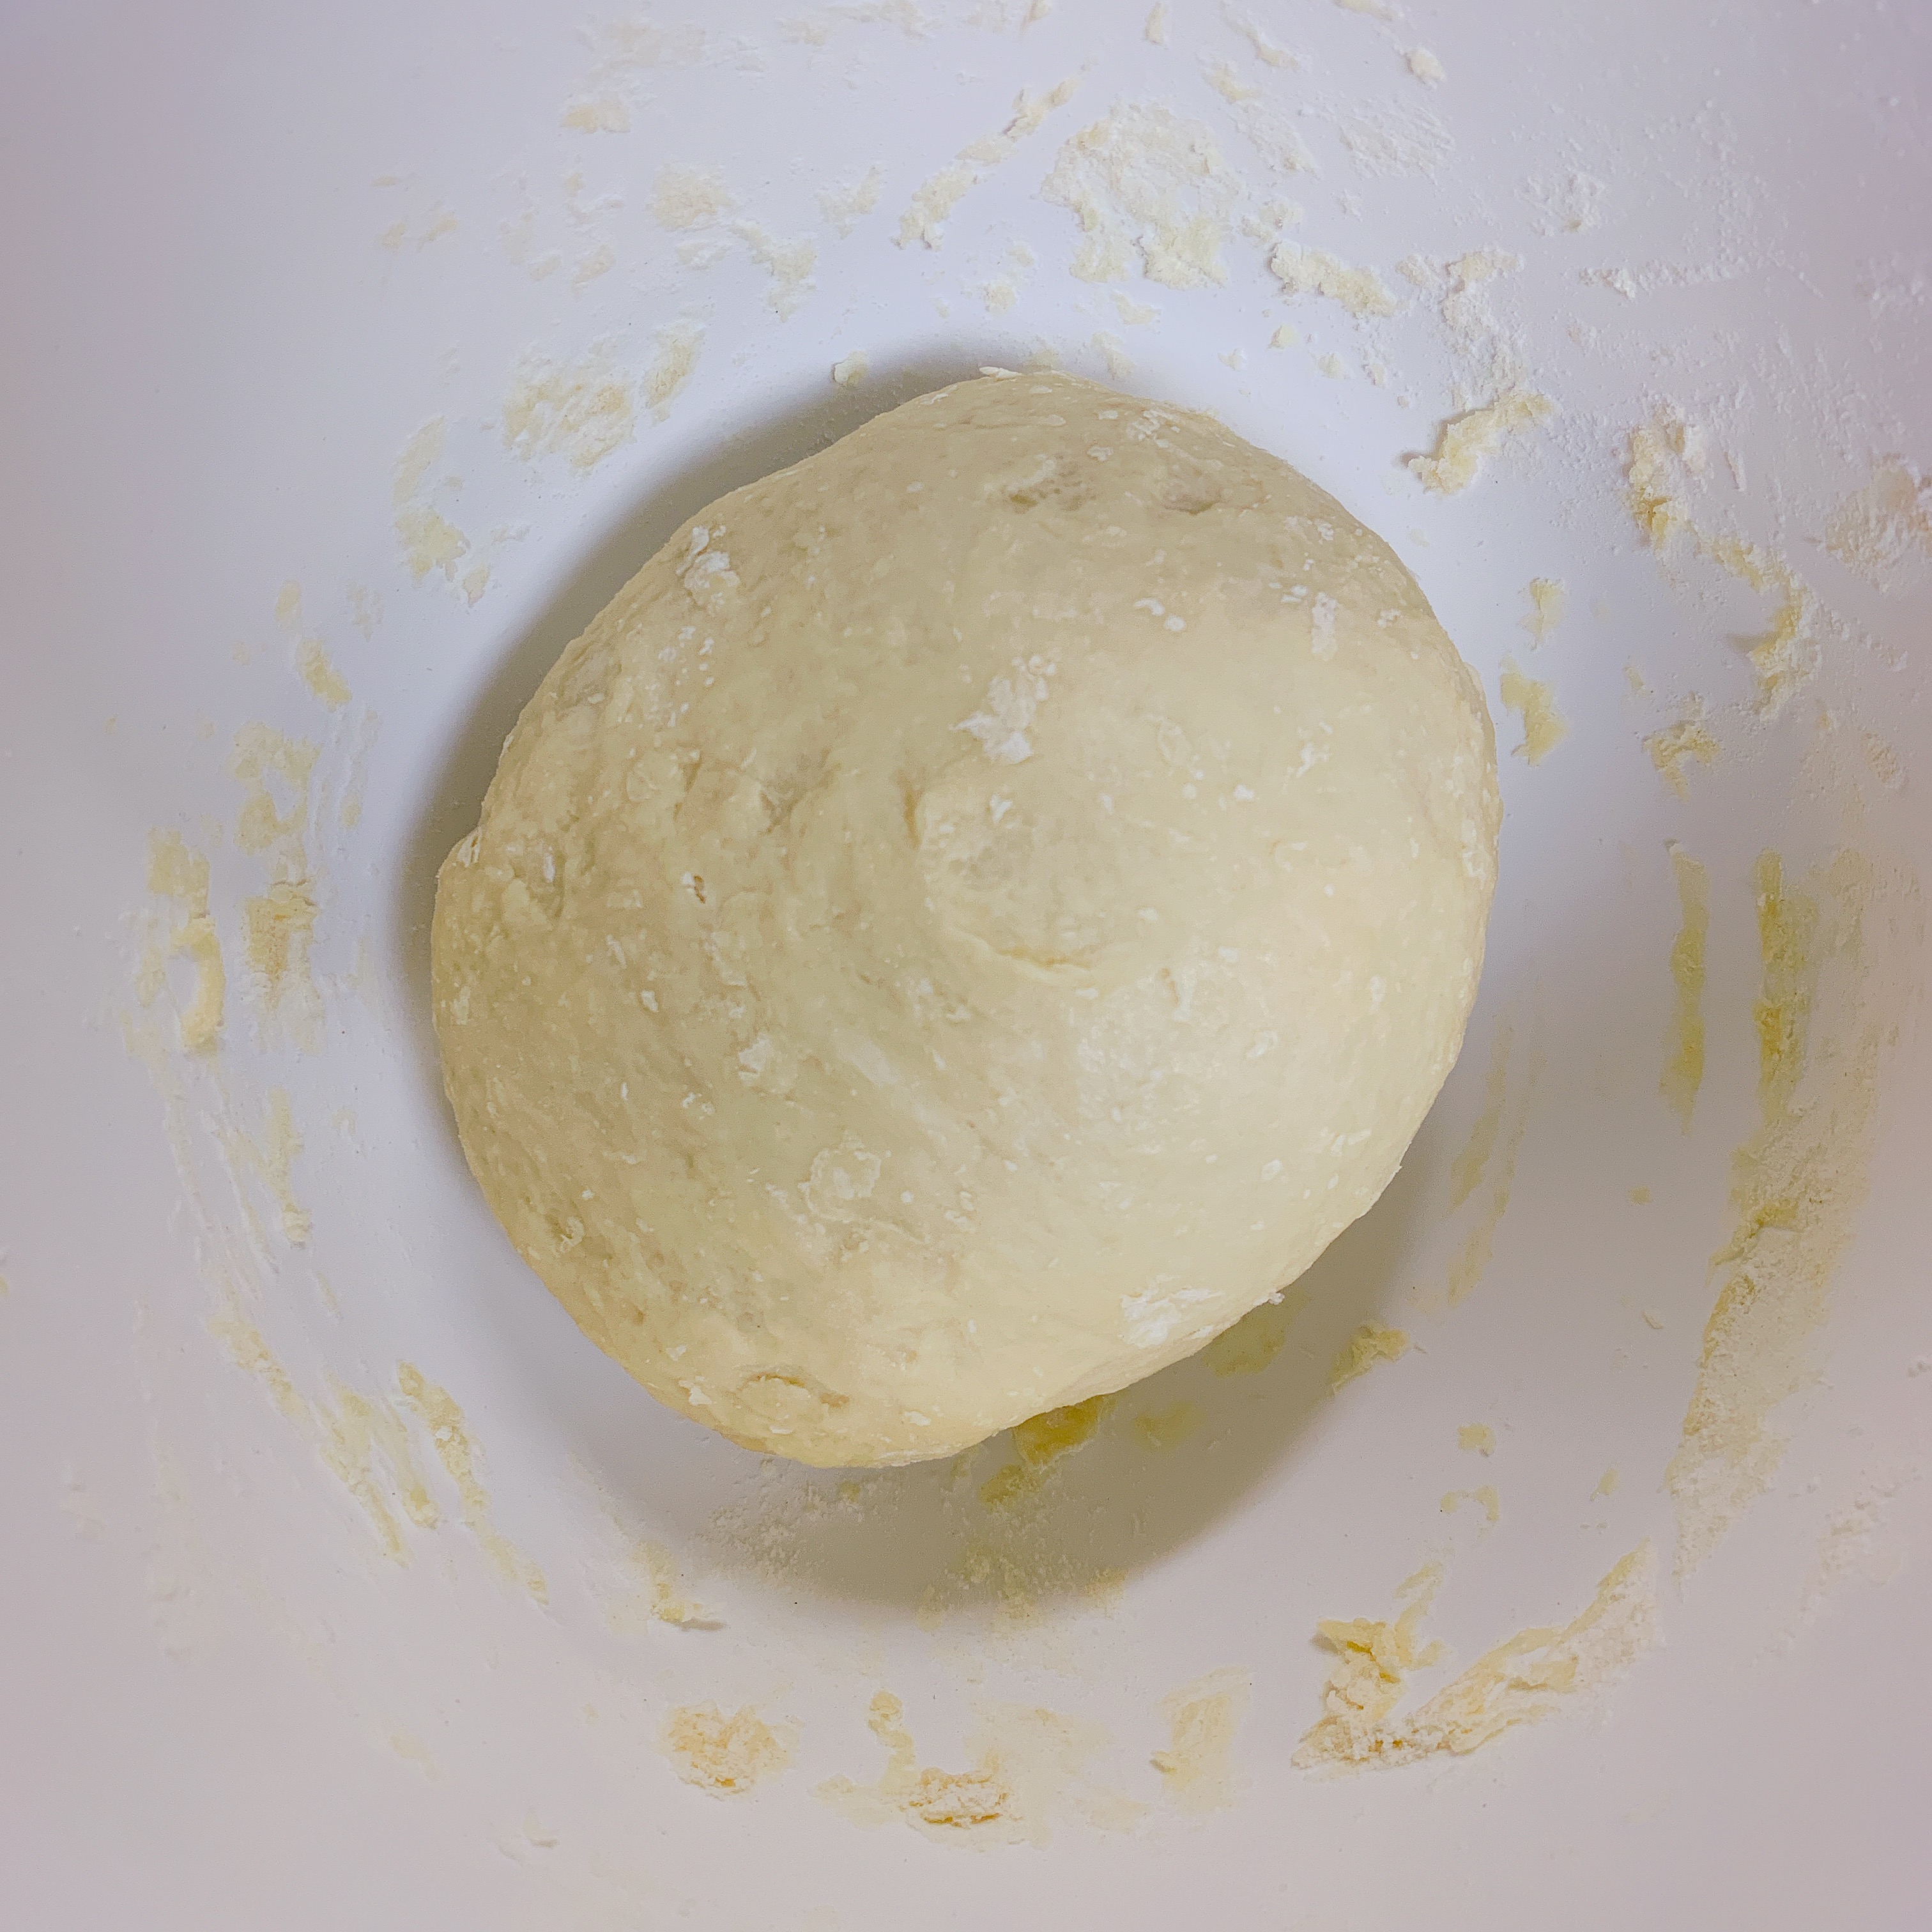
Then, I added the flour. This was a much dryer dough than the bacon bread mixture was and much easier to knead and mold as I wanted.
I took a walk whilst letting this rise, and when I got back both of us (the dog and I) had our noses in the air. It smelled so good.
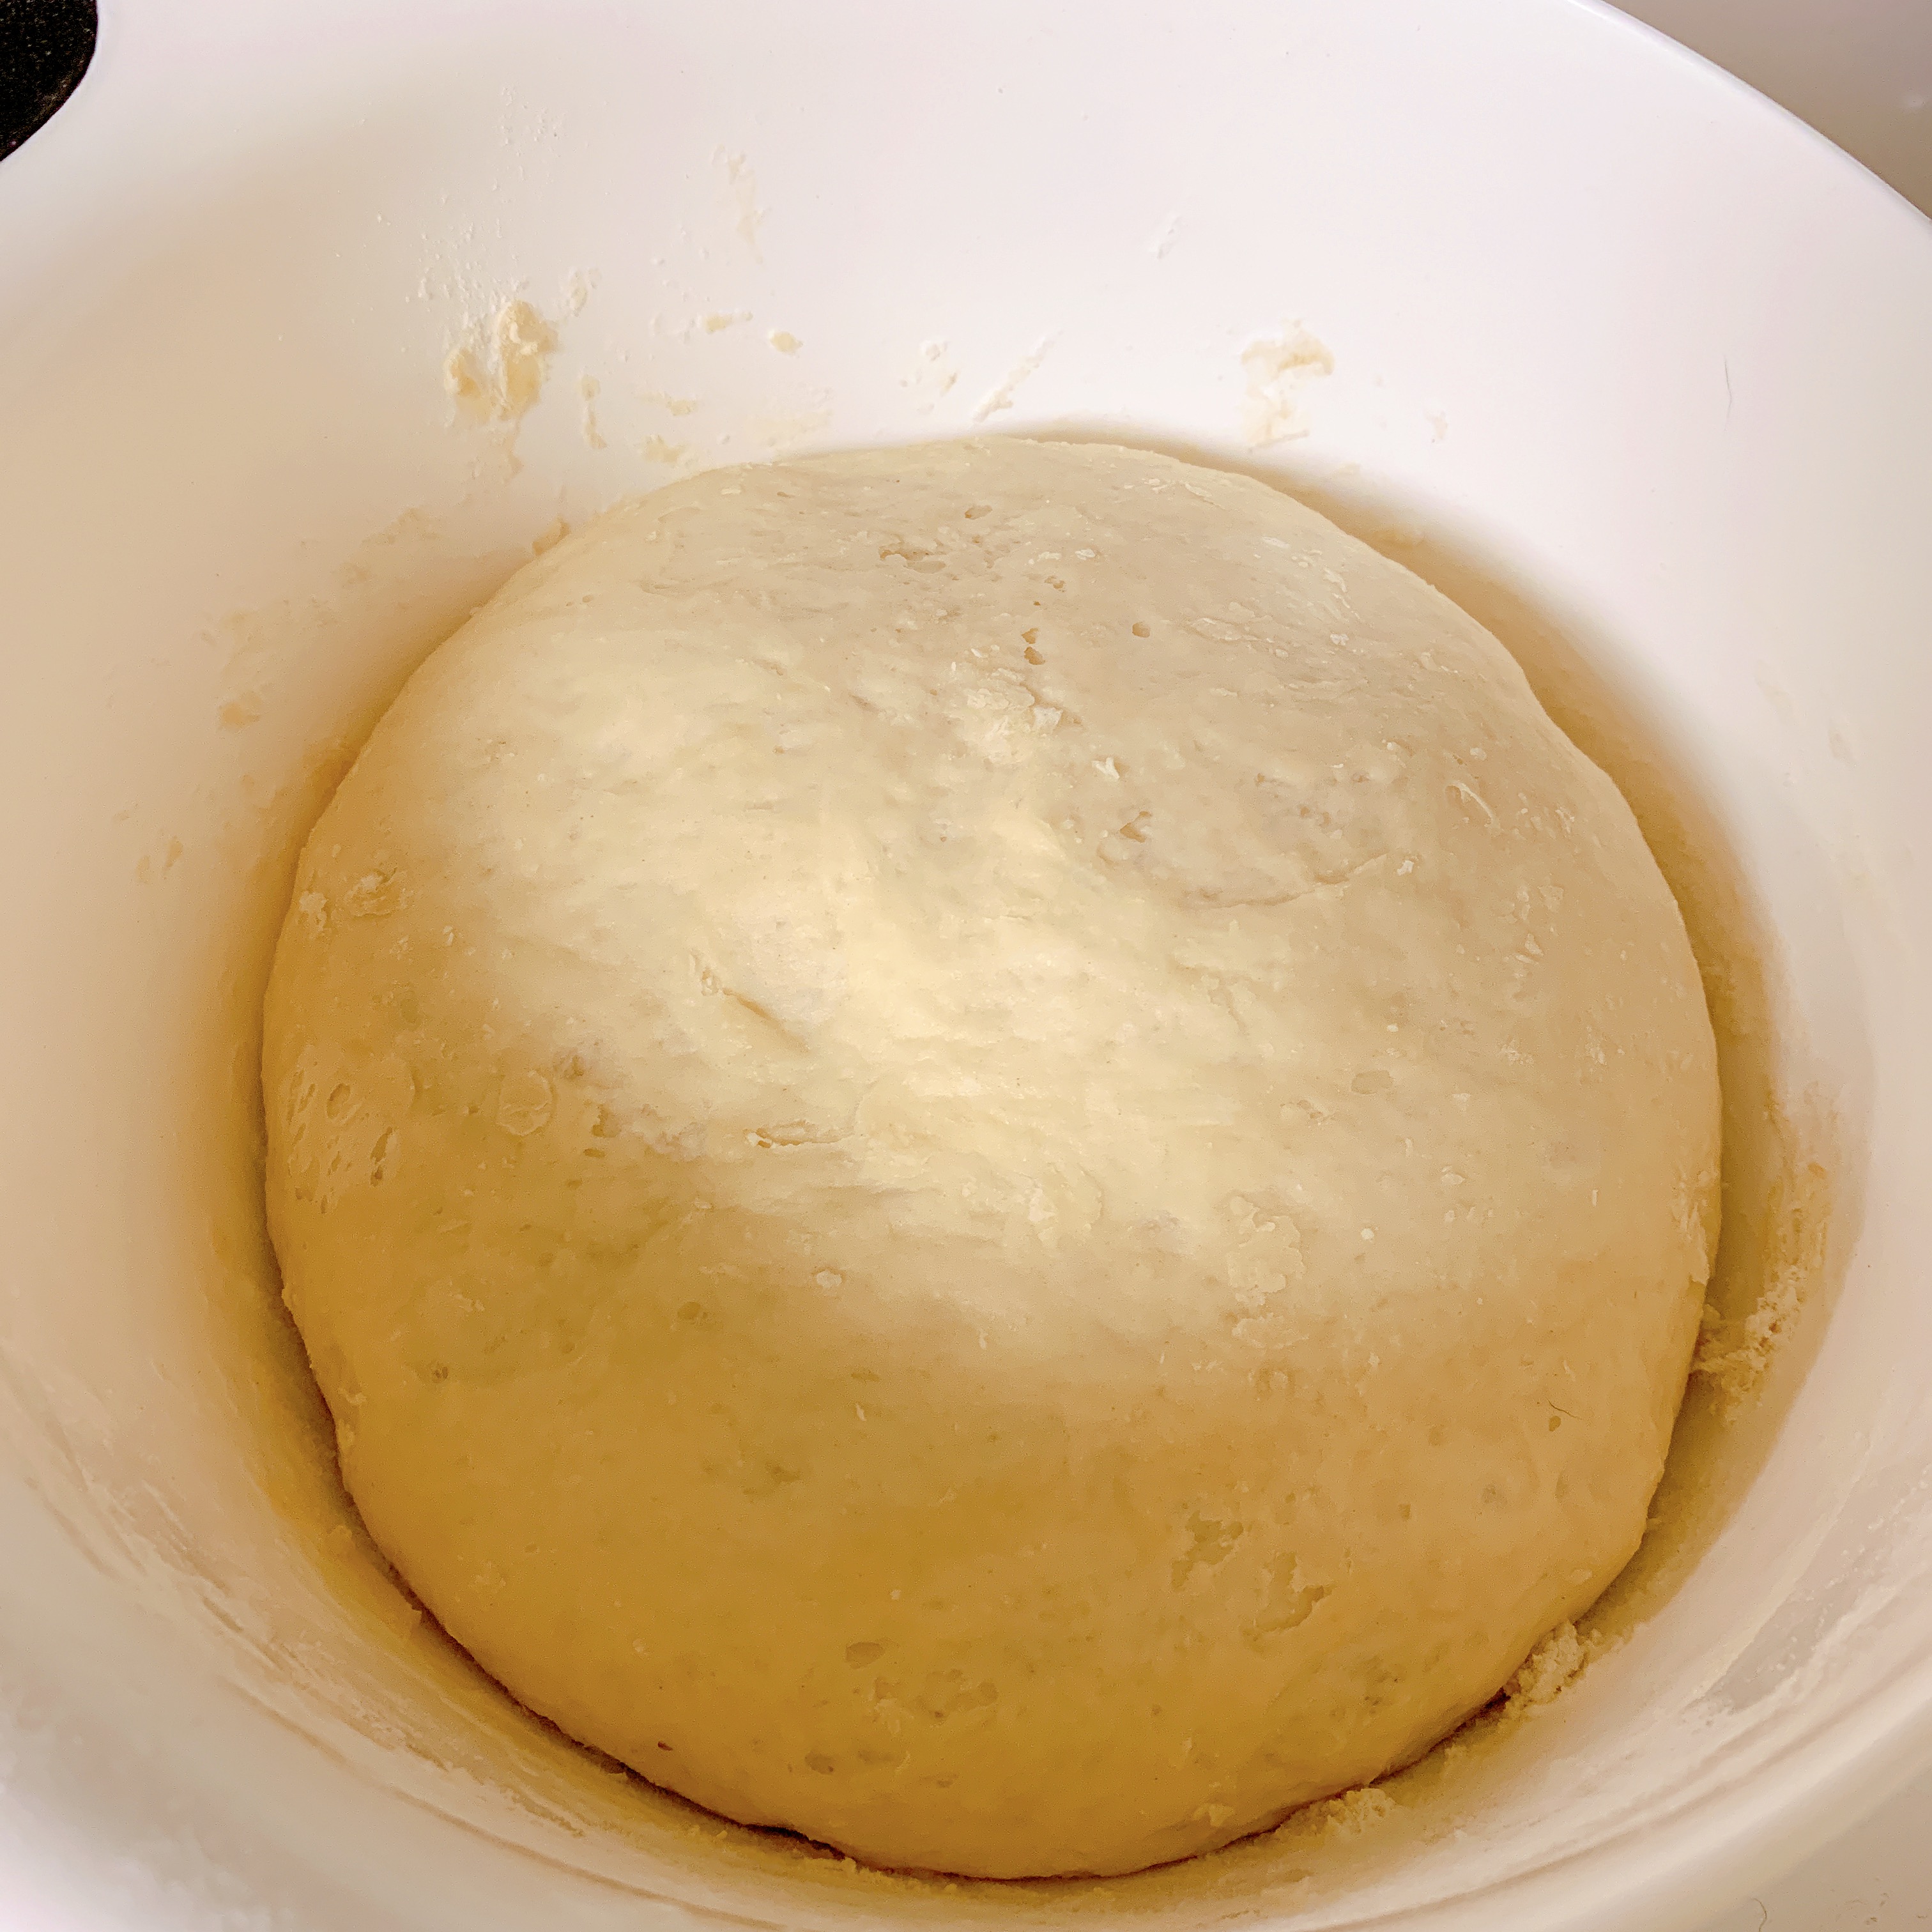
I still think the way it expands is fascinating. Gluten and carbon dioxide are miracles, people.
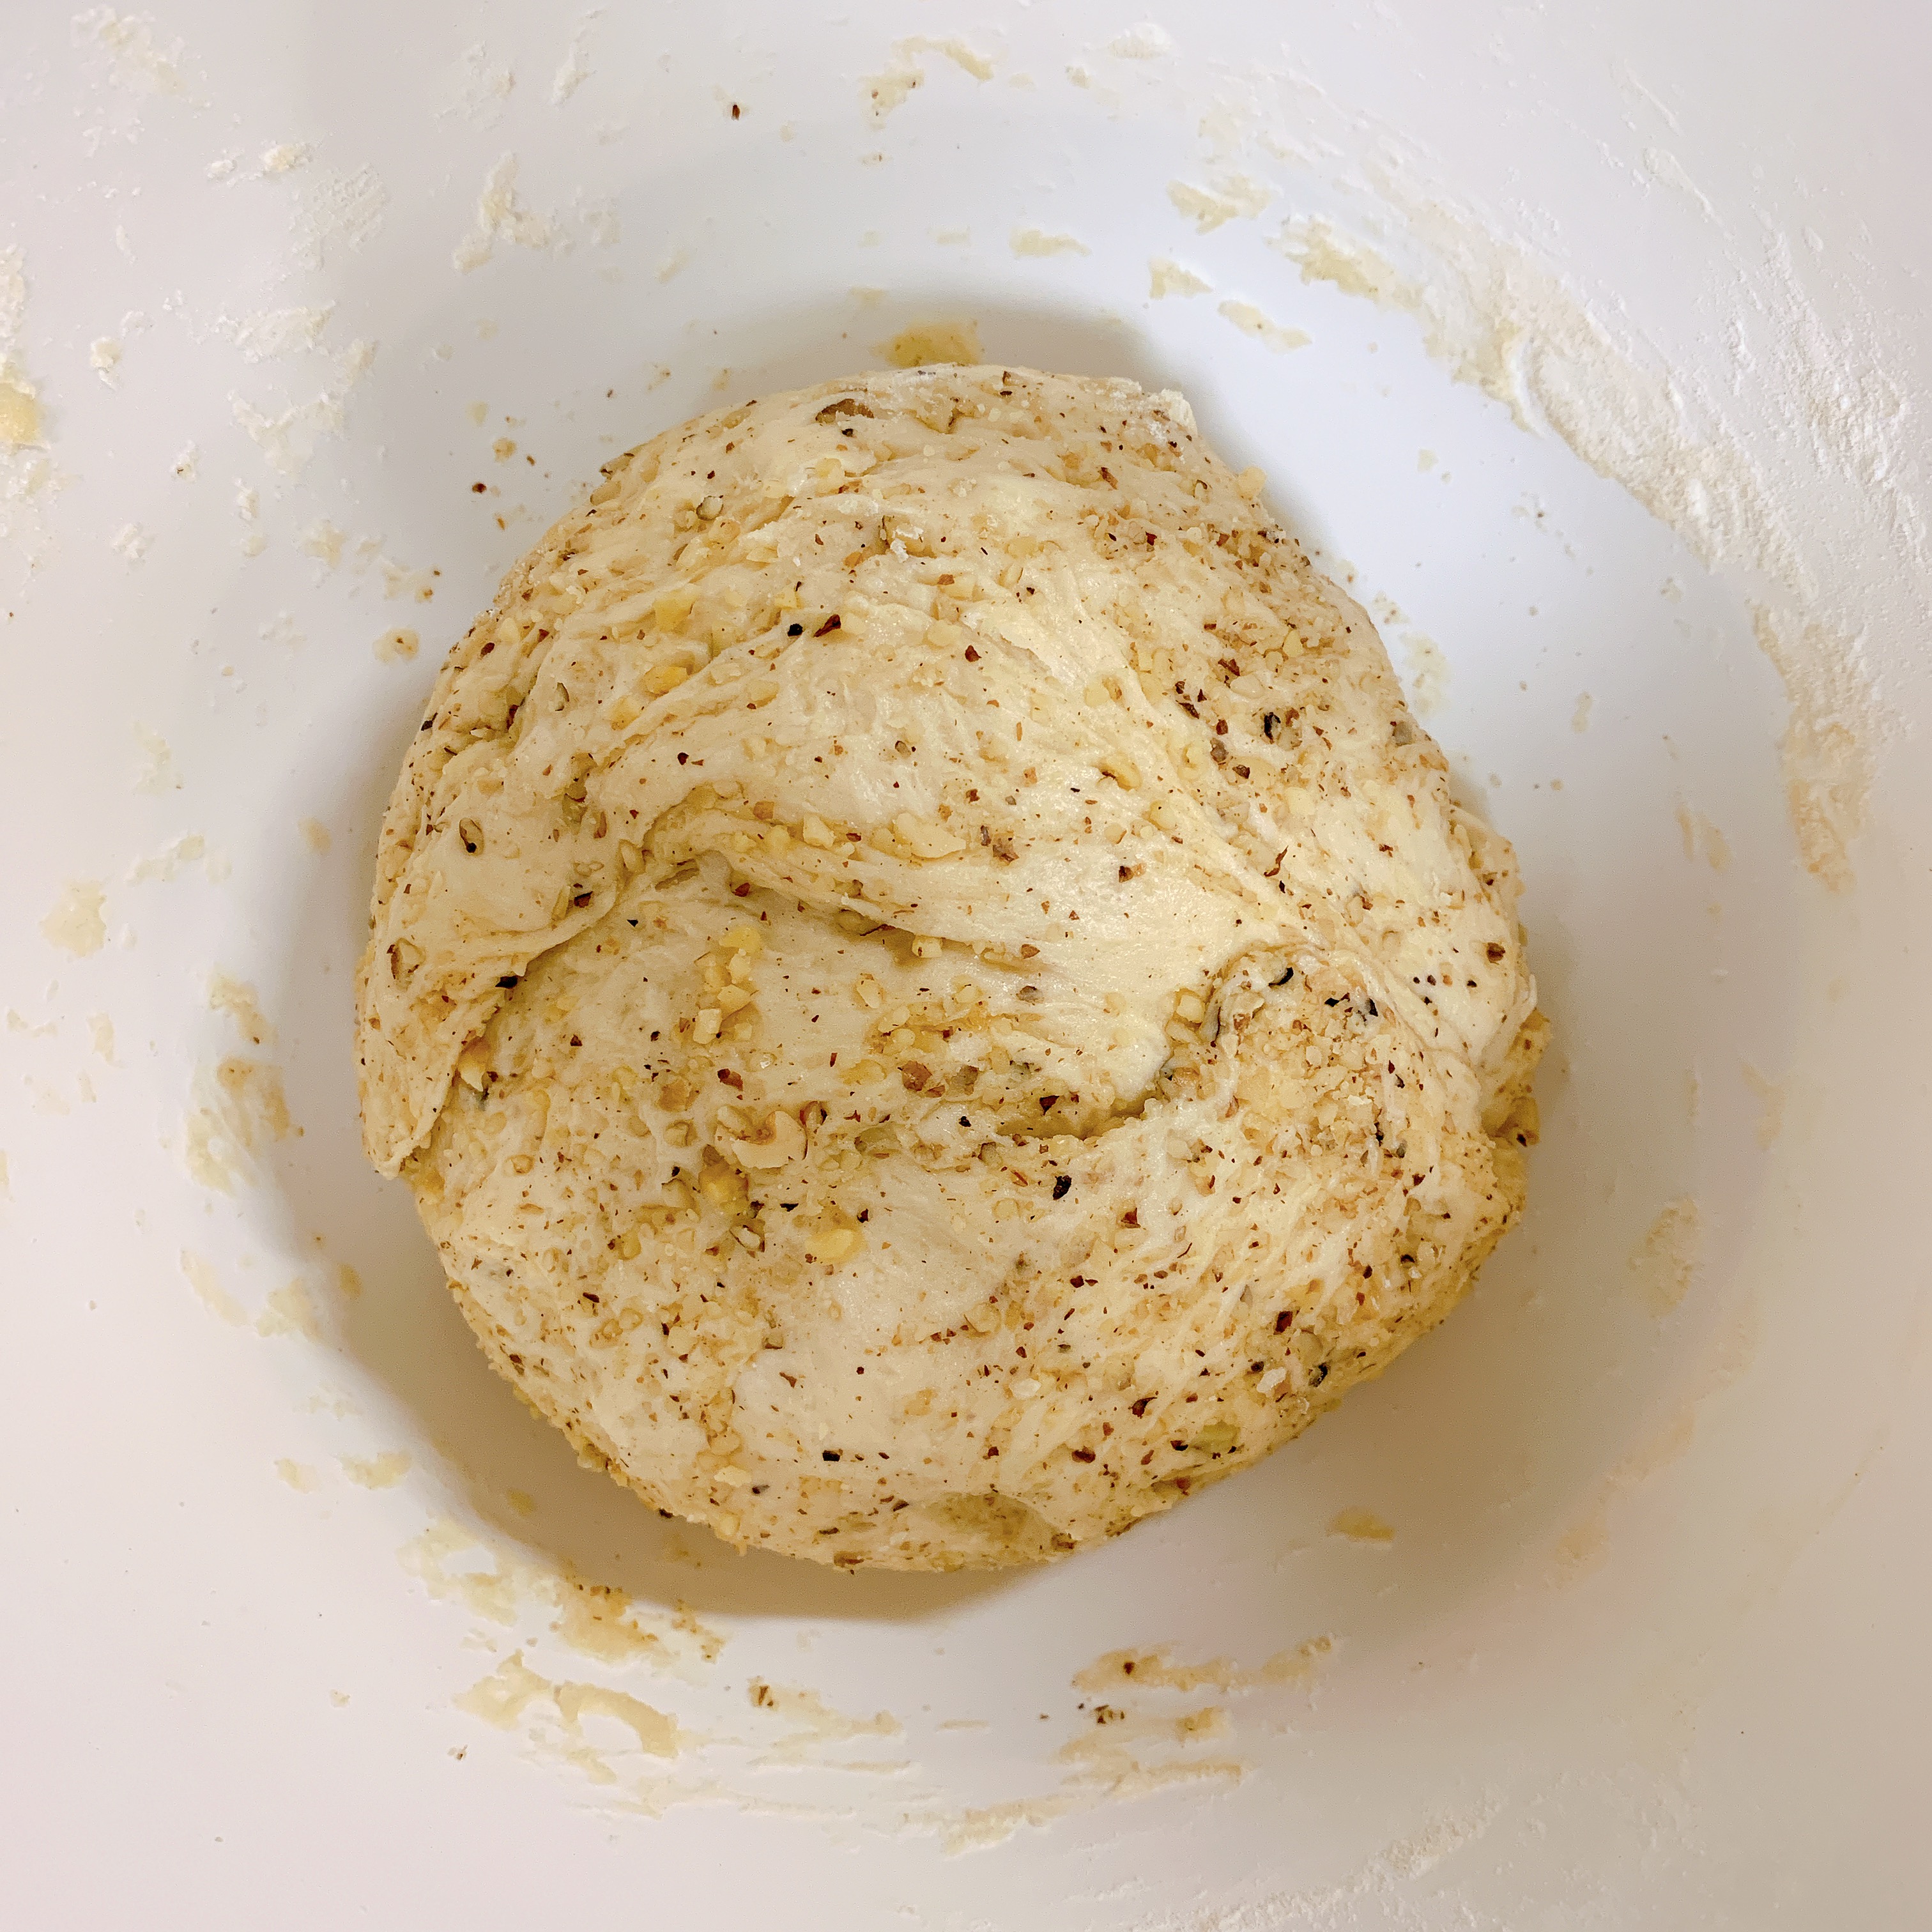
Time to add walnuts! Now, I mentioned earlier that I wanted to come up with a way to make the walnuts more palatable. My solution?
Food processor.
One of the things that really turns me off about adding nuts to bread (and that includes nuts I like, not just walnuts!) is the difference in texture. I’m a texture eater, so munching on a piece of bread and suddenly encountering this crunchy thing in it is just… not very pleasant for me. To avoid this happening, I simply tossed all the walnuts into the food processor and happily watched them get chopped into tiny, tiny pieces.
It was glorious.
Honestly, I think it made a huge difference.
I kneaded the finely chopped walnuts into the dough after it was done rising, but – like I did with the bacon – you could also add them beforehand. This gave the bread a nice external coating of the walnuts with very few of them truly dispersed throughout the dough itself. It is my belief that this is another reason that I like this bread – the walnuts were almost more of a crust and not so much a sudden surprise. Let’s be honest, nobody likes crunchy surprises. Yuck.
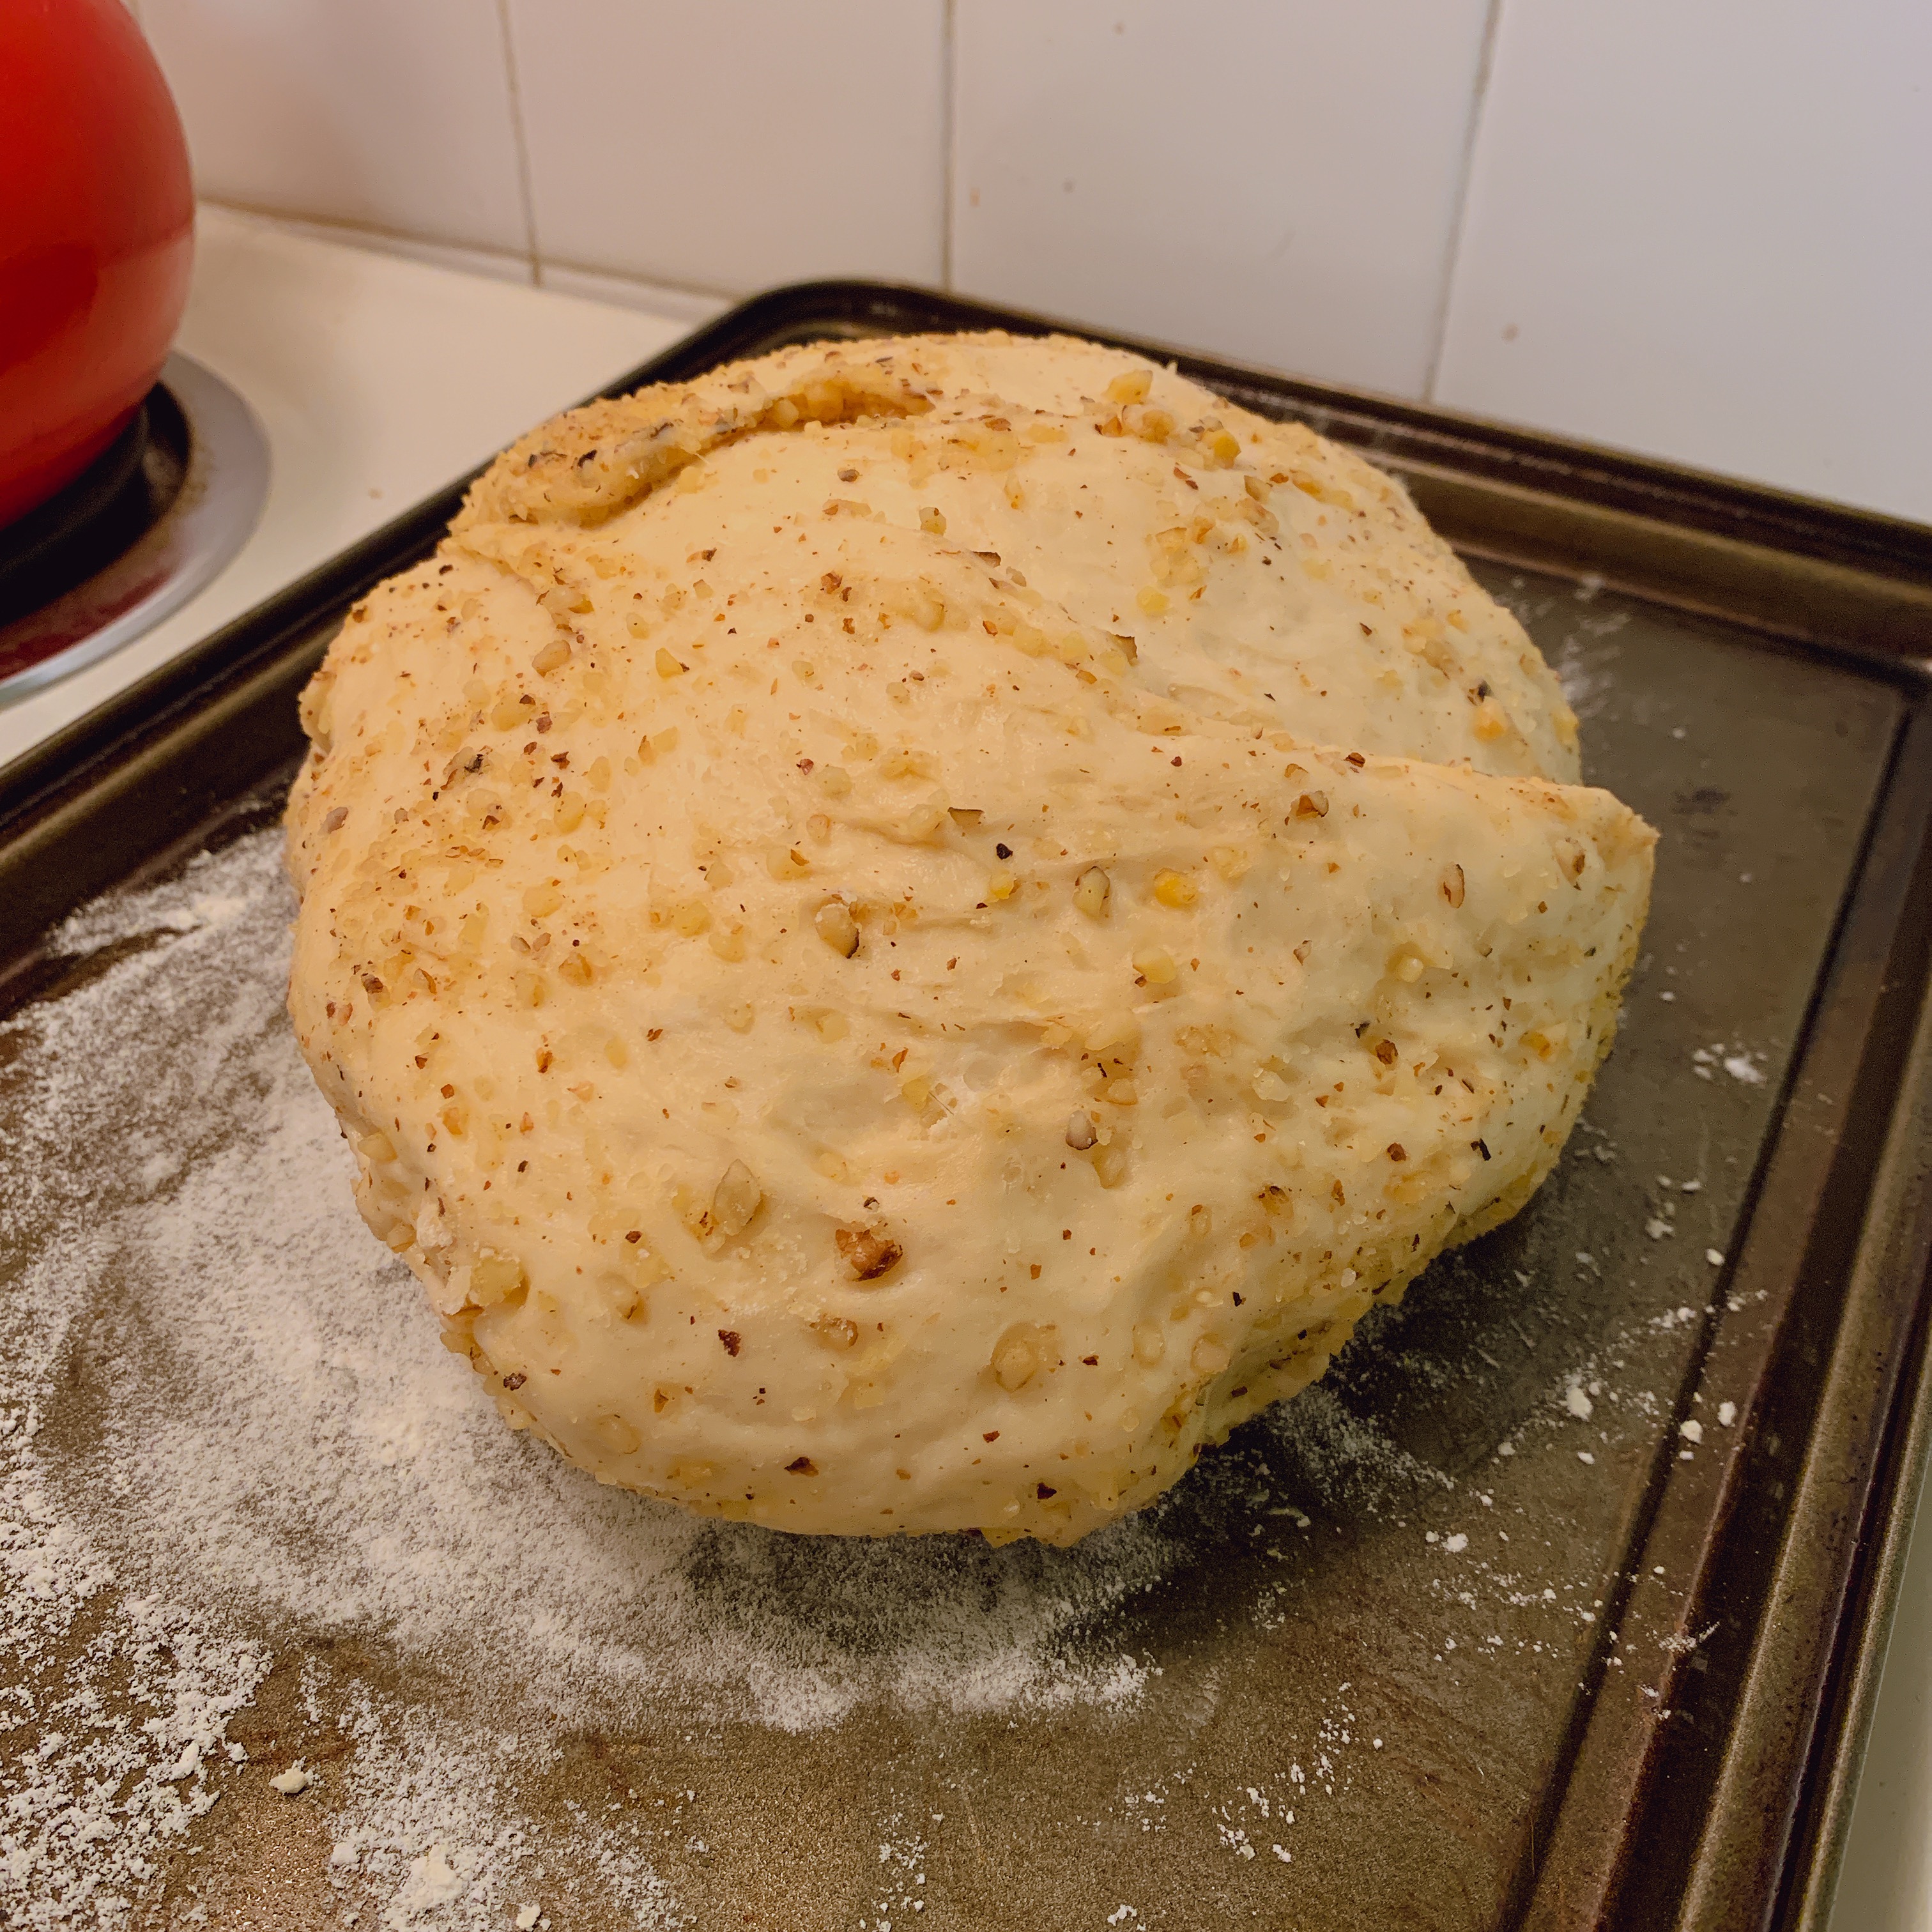
I let that rise for another hour or so, coated my pan with oil and flour, and got ready to put it in the oven!
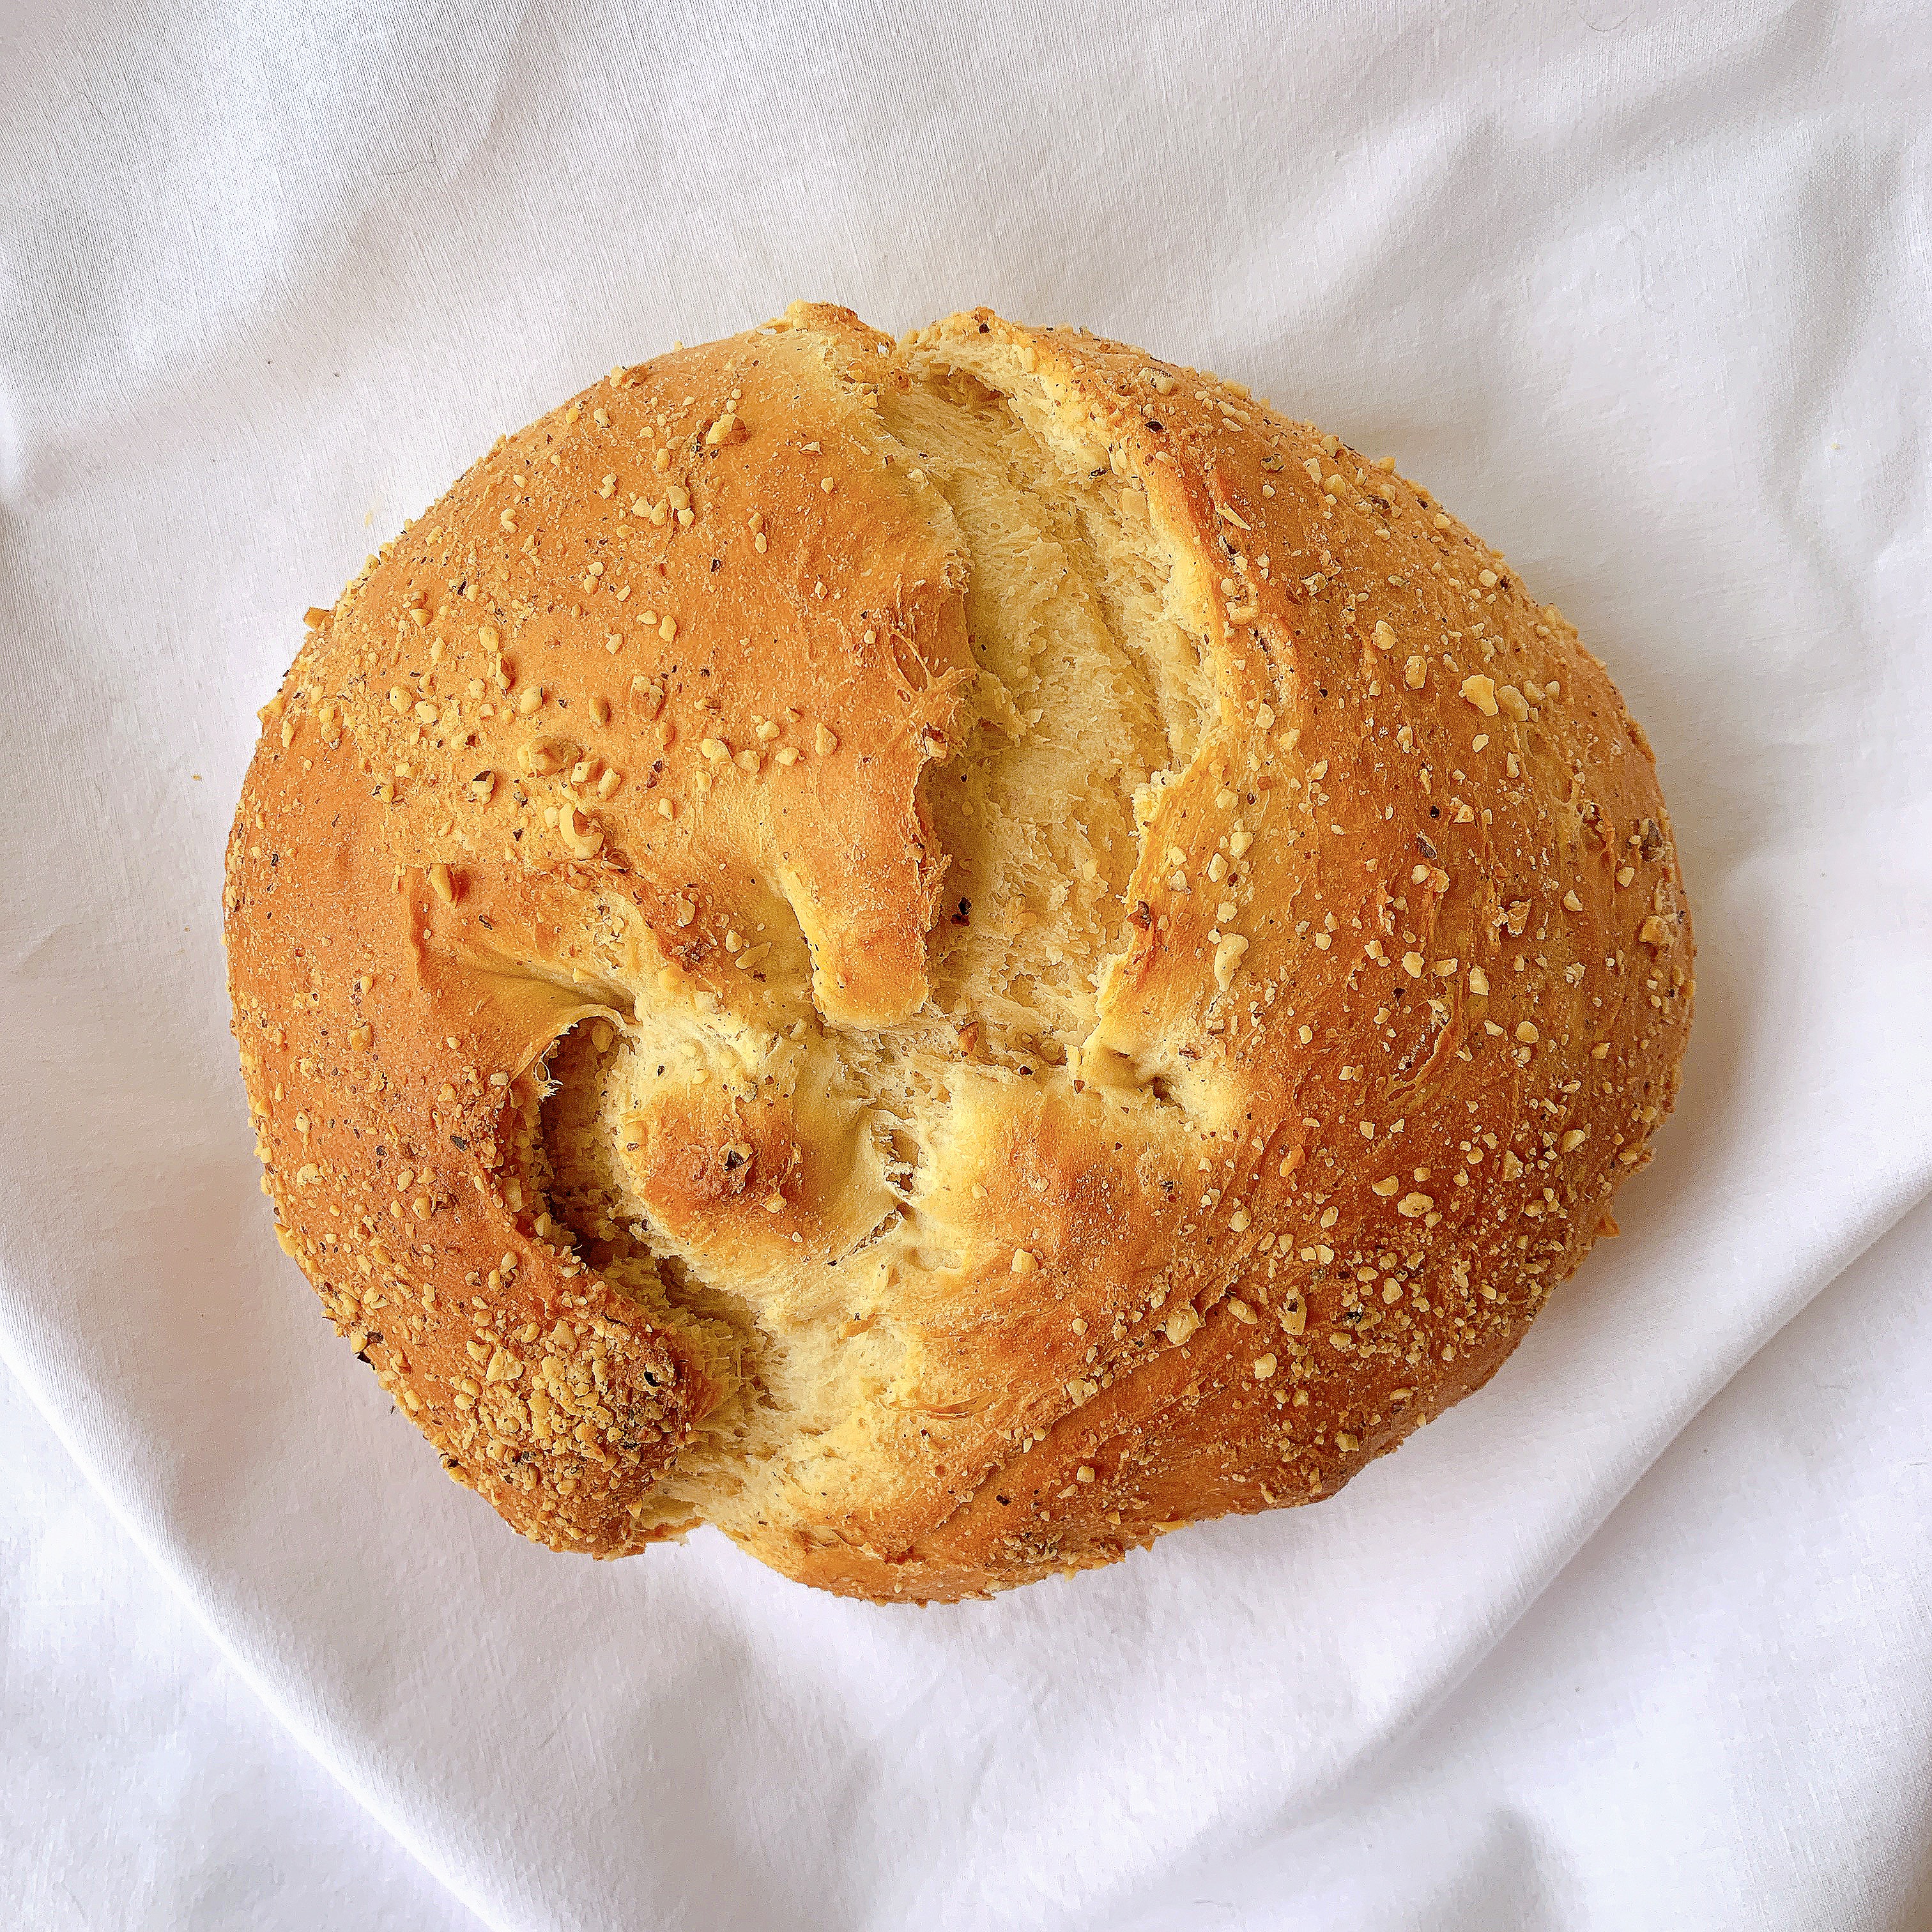
And there you have it! A fairly simple, homemade walnut bread recipe! For a recipe that I basically threw together, I am very pleased with how it turned out. I took what was left with me to work on Monday and got the stamp of approval from the coworkers, as well.
Stay tuned: more La Noscean recipes coming your way this week! Please enjoy this bread!
Walnut Bread
Ingredients (makes 1 loaf):
- 3/4 cup warm milk
- 3 tsp yeast
- 1/4 cup real maple syrup
- 2 1/2 Tbls unsalted butter, melted
- 3/4 tsp salt
- 3 cups flour
- 1/2 – 1 cup chopped walnuts
Directions
Preheat oven to 350°F. Combine yeast, milk, and 1/2 cup flour and let sit for roughly 10 minutes. Set aside remaining flour. Then, add the syrup, butter, and salt to the yeast mixture, stirring thoroughly. Add the remaining flour one cup at a time, mixing with a fork or spoon to start. Then, knead the dough several times until a soft ball forms. Cover and let rise for at least 2 hours. Knead in the walnuts; cover and let rise another hour. Grease a baking sheet and sprinkle flour onto the oil, then put your dough onto the pan. Bake for roughly 30 minutes or until a golden crust forms and the bread sounds hollow when you tap it. Let cool before slicing. Enjoy!
